[alert-announce]Note: This is a normal WordPress setup for testing. Please use our latest tutorial on WordPress setup for a high performance and secure WordPress site [/alert-announce]
You can have WordPress on Amazon by three methods.
you can launch an instance using a preconfigured AMI
you can install it manually on your server from the scratch.
You can use cloudformation default template to launch an instance with WordPress
In this tutorial, I will explain how to install WordPress on Amazon Ubuntu instance from scratch.
Getting Started
1. Launch an Ubuntu Instance: Follow this tutorial How To launch an Ubuntu Instance on Amazon EC2
2.Connect the instance using putty: Follow this tutorial to do that How To connect Amazon EC2 ubuntu Instance Using Putty
3.Update the Server: Once you connect the connect to the server using putty, you have to update the server.
sudo apt-get updateYou can set up the lamp server using a single command or you can install all the packages separately. To install lamp server, execute the following command.
sudo apt-get install lamp-server^The above command will install Php. Mysql, and Apache. You have to install PHPMyAdmin separately. For that, I have given the code at step 7. If you are going to install LAMP server using the above command, then skip steps 4, 5 and 6.
Manual installation of Lamp Server
4. Install MySql: Install the MySql package on Ubuntu Instance.
sudo apt-get install mysql-server mysql-client libmysqlclient15-dev5. Install Apache2:
sudo apt-get install apache2 apache2-doc apache2-mpm-prefork apache2-utils libexpat1 ssl-cert6. Install PHP:
sudo apt-get install libapache2-mod-php5 php5 php5-common php5-curl php5-dev php5-gd php5-idn php-pear php5-imagick php5-mcrypt php5-mysql php5-ps php5-pspell php5-recode php5-xsl7. Install PHP Myadmin:
sudo apt-get install phpmyadmin8. Now enter the public DNS of your server in the browser and check if the web page shows a message "it works" as shown in the following figure. If it appears then we are all good with the installation process till now.

9. Go to [your public DNS]/phpmyadmin and enter the username as root and the password you used during MySQL installation.
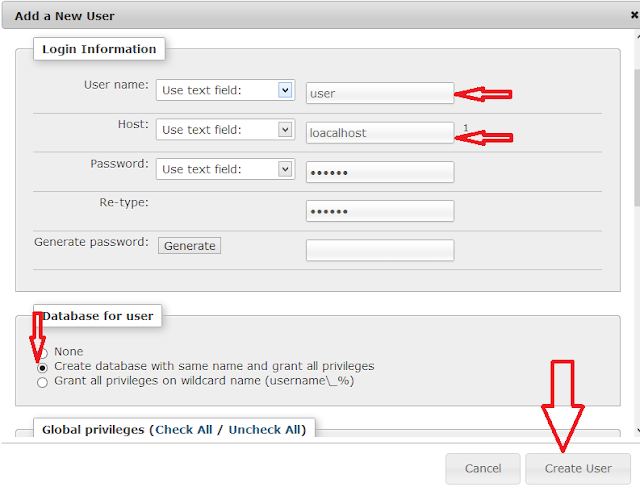
10. In PHPMyAdmin page Goto-->privileges-->add user ,enter the username and password of your choice. The hostname is localhost and under database select "grant all users" as shown in the following figure.
11. Download WordPress file to the server . Make sure you download the WordPress file inside WWW folder and untar it using the following commands.
cd /var/www/
sudo wget http://wordpress.org/latest.tar.gz
sudo tar -zxvf latest.tar.gz
12. Basically, the index.html file will be present inside www folder. Remove it using the following command
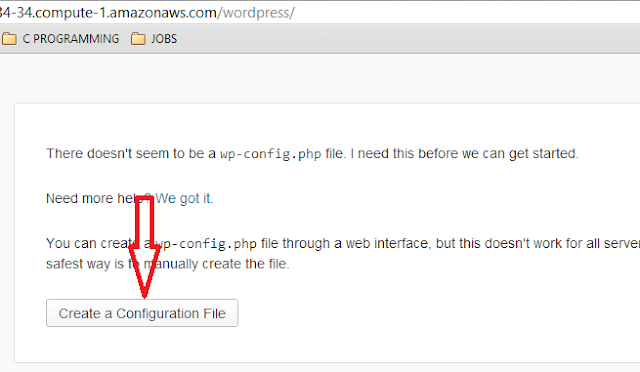
sudo rm -f index.html13. Now enter the public DNS followed by /wordpress in the browser. There you can see the WordPress file. Click it and then click "create a configuration file". If you want your WordPress directly accessible by the public DNS, then you have to copy the files inside WordPress folder to WWW folder.
[alert-note]If you want your WordPress site accessible directly using the url without adding "/wordpress" suffix, then copy all the files from /var/www/wodpress folder to /var/www[/alert-note]
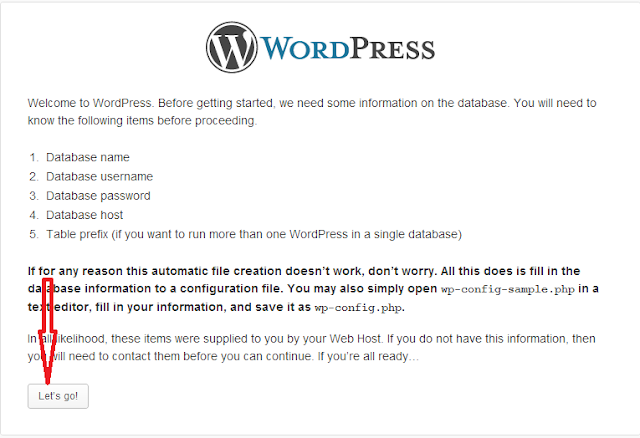
14. click "lets go" button.
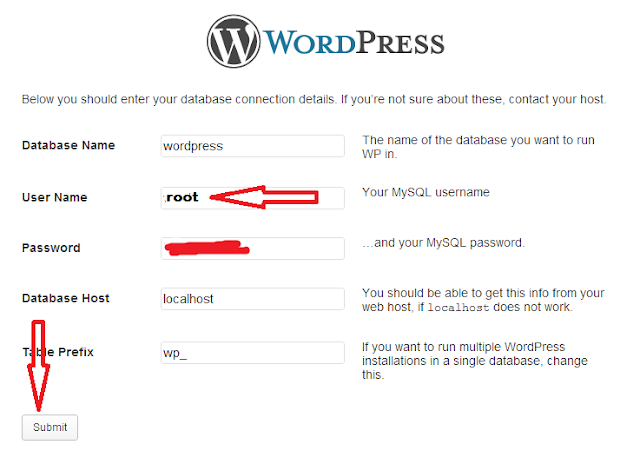
15. Enter the SQL username and password you created in PHPMyAdmin dashboard and click submit.
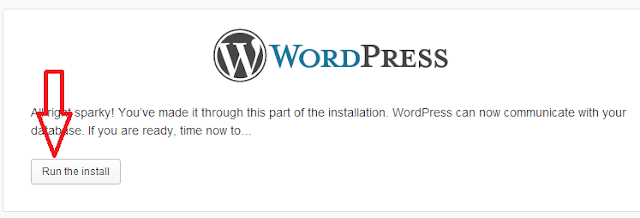
16. Click "run and install"
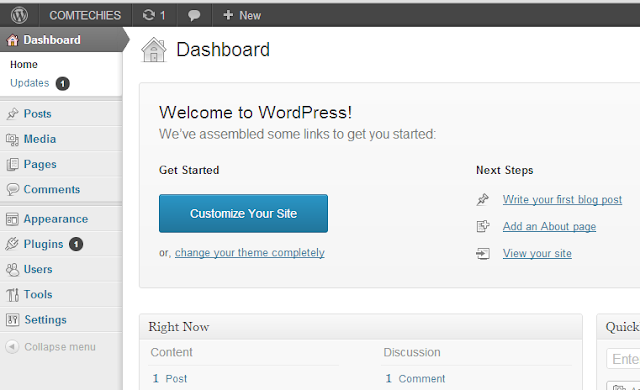
17. Login to WordPress using the username and password that you have created during the installation process.
That's it !! your WordPress installation is done. Now you can manage your WordPress site using its dashboard.