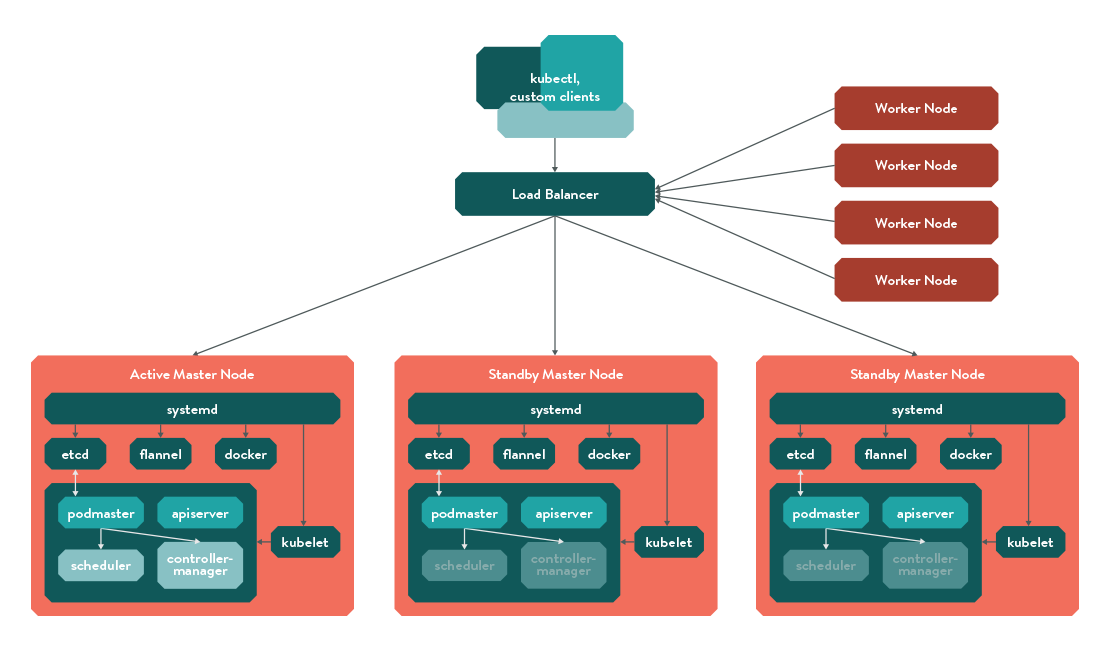
In this article, i will guide you through the installation and setup of kubernetes using vagrant. Also, we will setup a demo application on the kubernetes cluster.
Note: I am running this set up on a ubuntu 14.04 desktop with vagrant and virtual box as a vagrant provider.
Getting Started
The best way to launch a test kubernetes cluster is to use the bash script provided by kubernetes. It will automatically launch the cluster based on the parameters you give.
You can have a look at the bash script from here https://get.k8s.io
The default script launches one master and one minion.
Note: If you want more than one minion, you can set the NUM_NODES environment variable to the desired number as shown below.
export NUM_NODES=3
Now, set the KUBERNETES_PROVIDER variable as shown below.
export KUBERNETES_PROVIDER=vagrant
Download and run the cluster script using the following command.
curl -sS https://get.k8s.io | bash
Once the script finishes execution, it will output all the endpoints to access kubernetes UI, Graphana, and other API access.
The default username and password for the UI and other components are vagrant and vagrant.
Kubectl is the CLI utility for interacting with the cluster. Now, let's verify the CLI by executing the following command from the kubernetes folder.
./cluster/kubectl.sh get nodes
If you get the information about the nodes, you have a working cluster with a master and a node.
Deploy a test container
Now we have the cluster ready. Let spin up a test jenkins container using the following command. ./cluster/kubectl.sh run jenkins --image=jenkins --port=8080

