


In this guide, you will learn how to setup the Kit plugin(formerly ConvertKit) on your WordPress website and how to display the Kit form on your pages or blog posts.
Embedding a Kit form is a great way to grow your email list and improve newsletter sign-ups.
Lets get started with adding the plugin.
Steps to Setup the Kit Plugin on Your WordPress
Follow the steps to set up your Kit plugin in WordPress and the steps to display your form on the website.
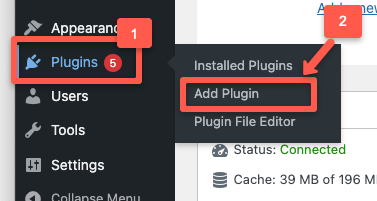
Step 1: Go to WordPress Plugin Page
Go to the WordPress dashboard, find the plugins menu in the left-side bar, and click Add Plugin.
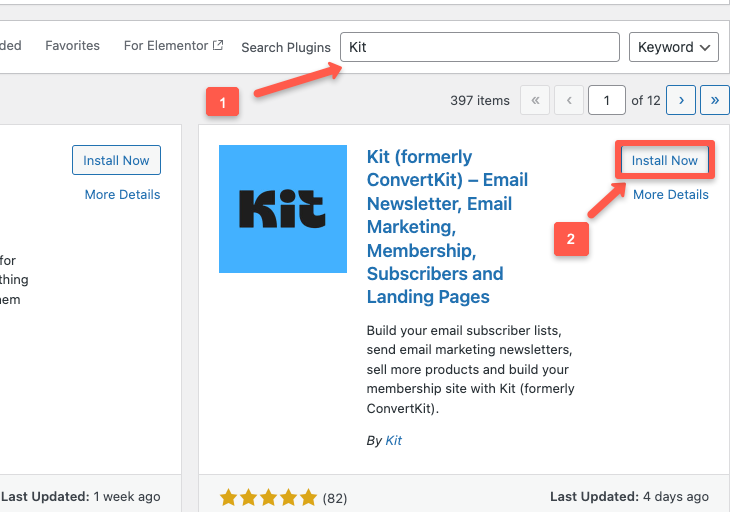
Step 2: Install Kit Plugin
In the search bar, type Kit. You will find Kit(Formerly ConvertKit) in the results.
Click Install Now button, as shown in the image below.
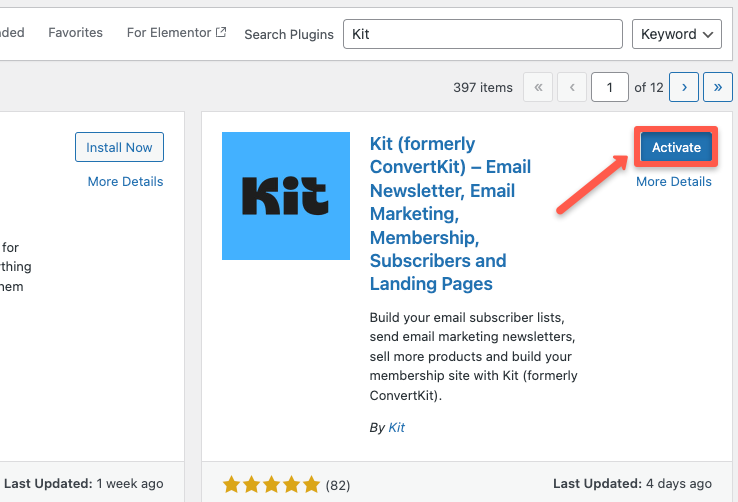
It takes a few seconds to install. Once it is installed, the Activate Button will enable. Click the Activate button.
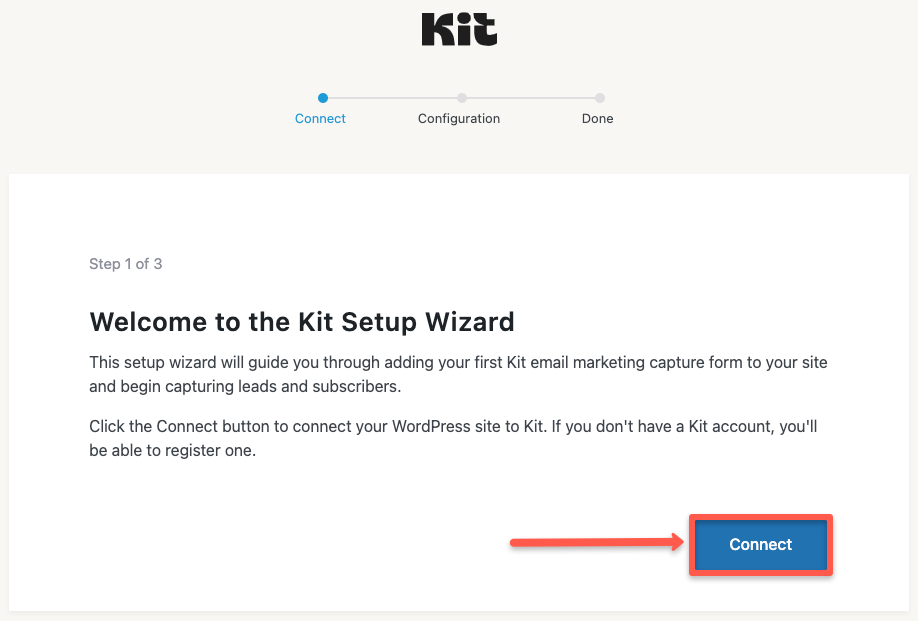
Step 3: Connect Kit Plugin to WordPress
Once activated, click the Connect button to launch the Kit setups wizard in WordPress.
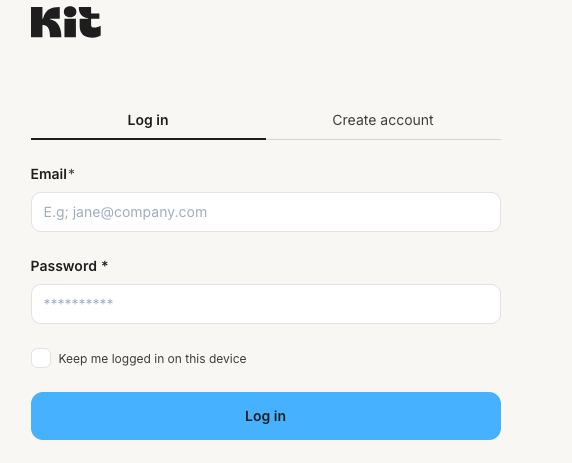
Once you click the connect button, you will be redirected to the Kit login page. If you don't already have an account, click Create Account to register.
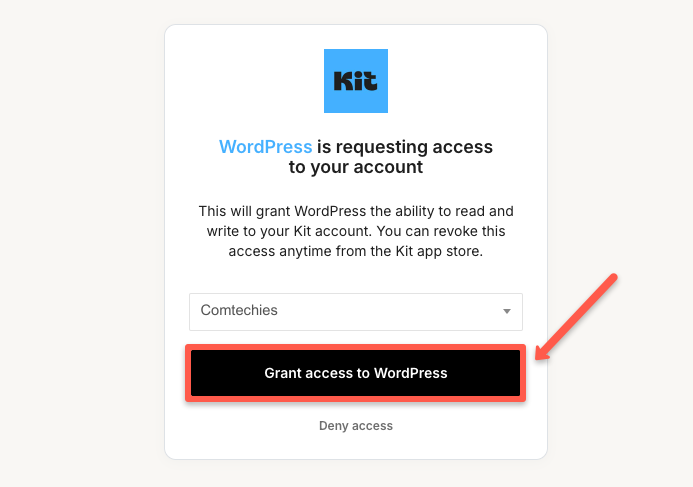
Step 4: Grant Access to WordPress
After logging into your Kit account, click Grant access to WordPress to authorize the connection between Kit and WordPress.
Step 5: Create Kit Form
In this, you will get two options. One is to create a new form, and another one to add an existing form, which you have already created in Kit.
If you haven't created a form yet, then click on the Create form button to create one immediately. If you are unsure how to create a form, here is a step-by-step guide to create a form to help you.
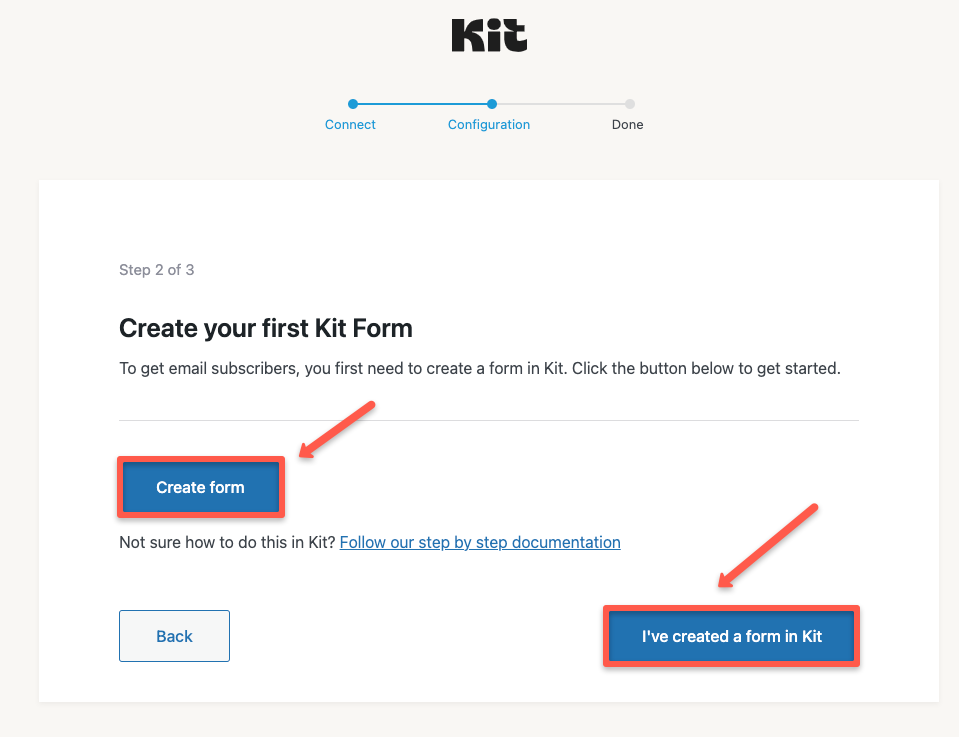
Now, if you have already created a form using Kit, then click on I have created a form in Kit to add an existing form from Kit.
I have already created a form with my Kit account, so I am going to choose the second option.
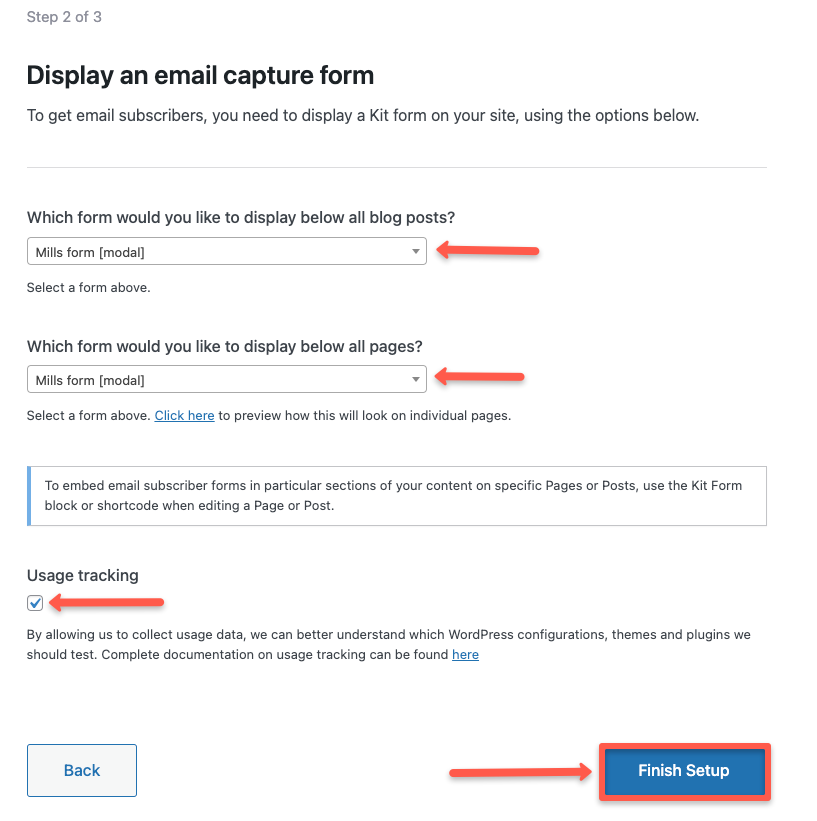
Step 6: Finish Setup
Now, you have to finish the setup to display an email capture form on your website.
In this section, you have to choose three things,
- Which form would you like to display below all blog posts?
- Which form would you like to display below all pages?
- And enable usage tracking.
So, I am using only one form, which is Mills template. You can create multiple forms based on your needs.
Once you have completed all these steps, click the Finish Setup button.
That's it. You have set up the Kit plugin on WordPress and finished setting up the form that you want to display on blog posts and pages.
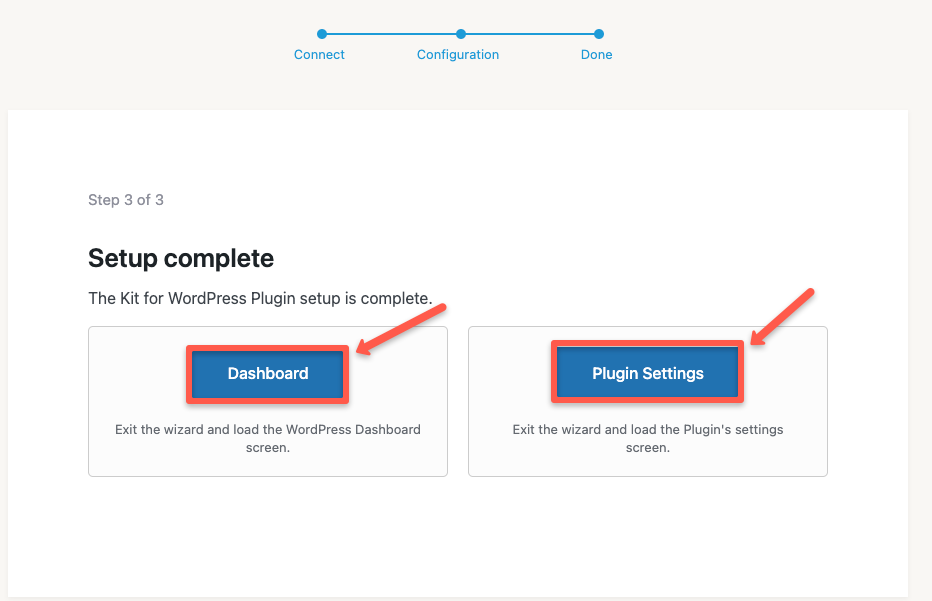
After finishing it, you will get a page as shown in the image below.
If you want to redirect to your WordPress, click Dashboard button, if you want to go back to plugin settings, then click the Plugin Settings button.
So the addition of the Kit form in WordPress is completed.
But, if you are not sure about creating a landing page in Kit, here is a detailed guide on creating a landing page.
Conclusion
In this guide, I have provided steps to add the Kit plugin to WordPress.
So, Kit is a perfect fit for your email marketing effort and newsletter.
If you want to know more about Kit, then here is my review of Kit from my experience.
Drop a comment below if you have any questions about this guide!