


In this guide, I will help you create a Newsletter signup form in Kit, which is going to be your first sign up form to gain subscribers using Kit (Formerly ConvertKit).
If you ask me, how do I know to create?
I know because I am using Kit for my personal newsletter and also providing newsletter marketing services for my clients.
So, lets dive into the steps to create a signup form for you.
Steps to Create a Newsletter Signup Form in Kit
Follow the steps below carefully to create your signup form.
First, log in to the Kit account.
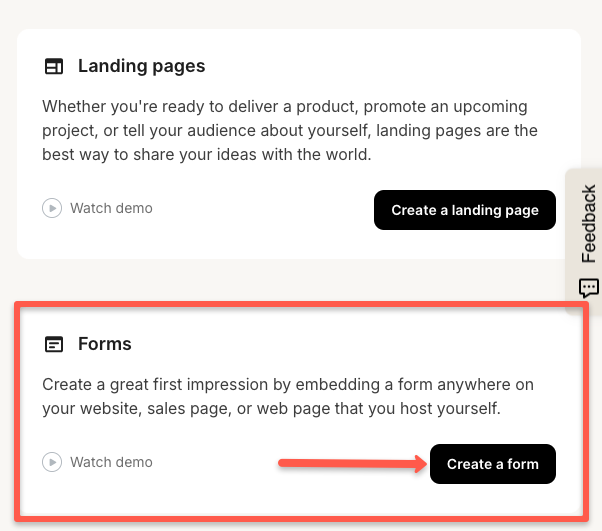
Step 1: Click the Grow Option and Select Landing Pages & Forms
In the Grow section, you will see a section called Landing Pages and Forms option. Click on it

Step 2: Click Create a Form Button
Now you will see the Forms section, where you need to click the Create a form button.
Step 3: Choose the Display Format
You need to decide which type or where you want to embed the sign up form on your web page.
There are four display types: Inline, Modal, slide in, and sticky bar.
I know, you are still confused about this display format. Let me explain and help you make a choice.
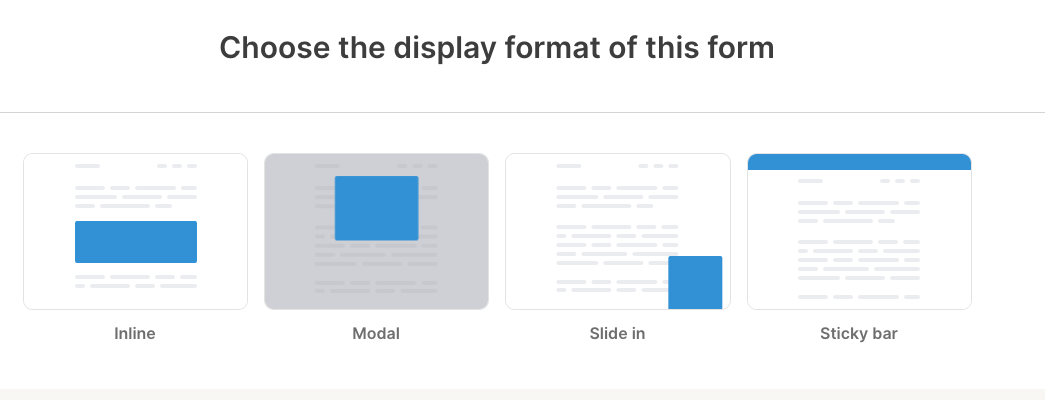
Inline Format
In the inline format, you can embed anywhere in the blog page. It can be in the header, middle, or footer of the content page, like in the image below.
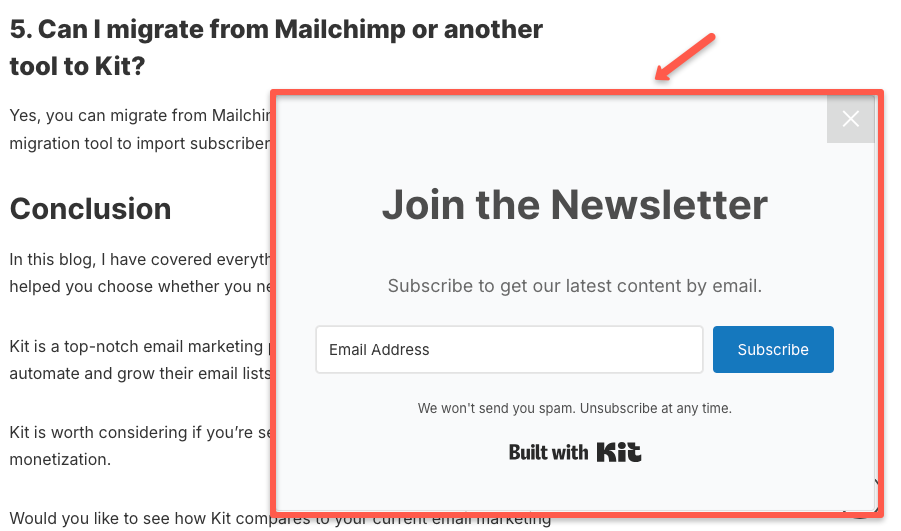
Modal Format
Modal is pop-up format. If a user enters your website or a blog page, this will pop up in their window. Also, they exit the signup pop-up. Example shown in the image below.
Slide in Format
Slide in format will slide from the left or right side of the bottom of the web page. Example shown in the image below.
Sticky Bar
Sticky bar means it will stick to the top of the page as a bar. Even if the user scrolls the page, it will still be stick on the top to remind the user to sign up for your newsletter.
Now, you can choose anyone first to create your form based on your strategy.
For example, I am choosing the Modal format because it works well for our website, and I believe it is one of the most effective display formats.
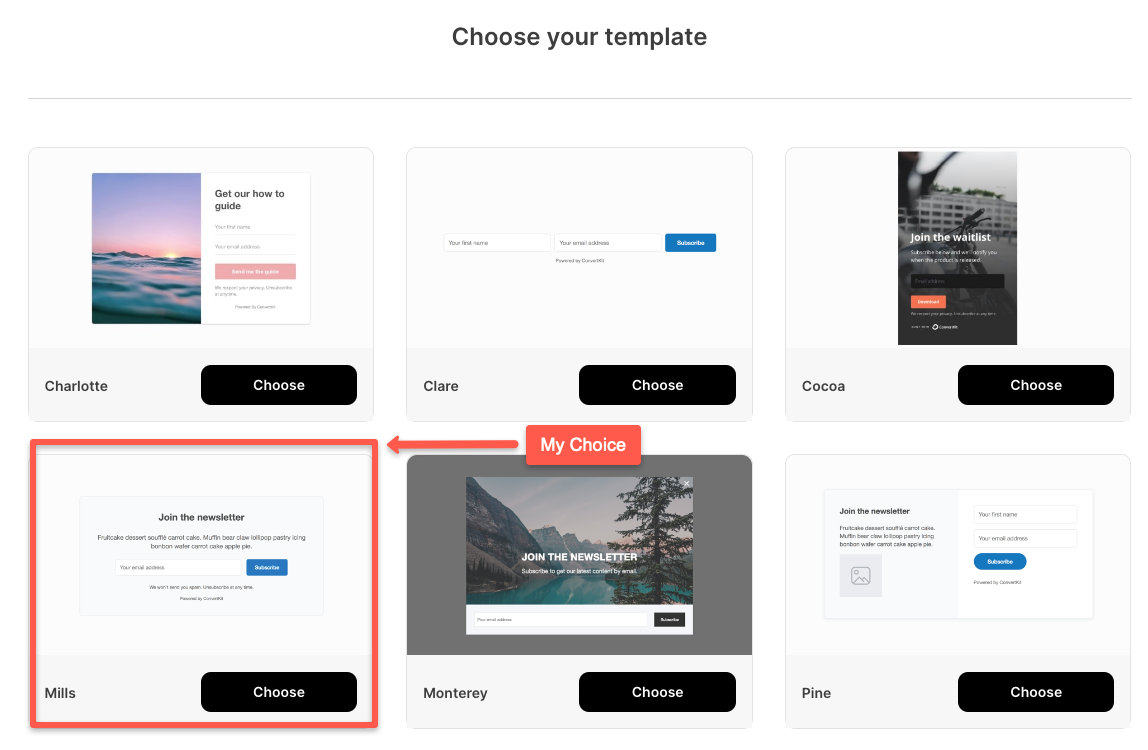
Step 4: Choose Your Template
You will get a pre-built sign up page template, choose the one based on your style and taste. Also, you can edit this template after selecting it.
Actually, I like minimalism, so I am choosing the Mills template.
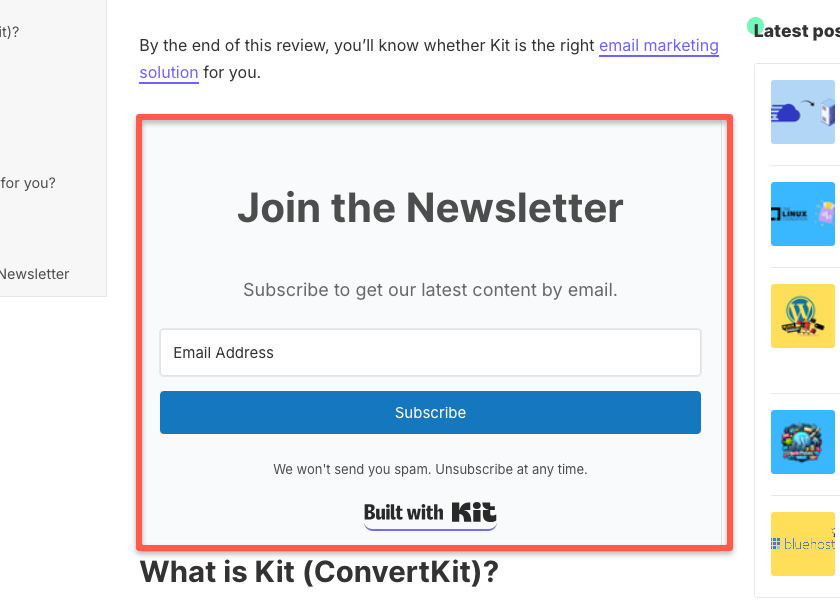
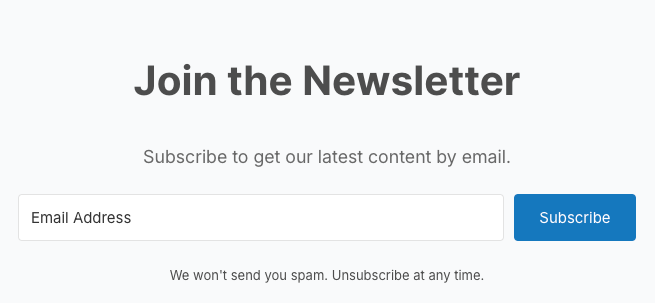
Step 5: Edit Your Sign-up Template
As I mentioned, you can edit the template to match your website's style and colors. Also, you can add an extra field in the template.
For example, take a look at the image below, which shows the difference between the original and edited versions based on the comtechies theme.
Original Version:
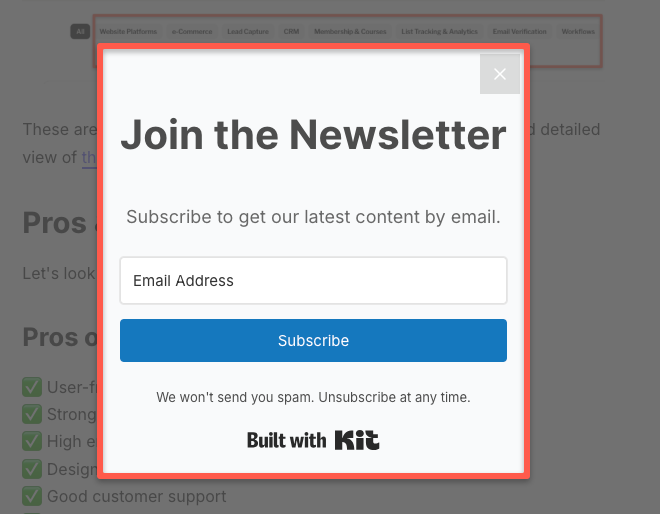
Edited Version:
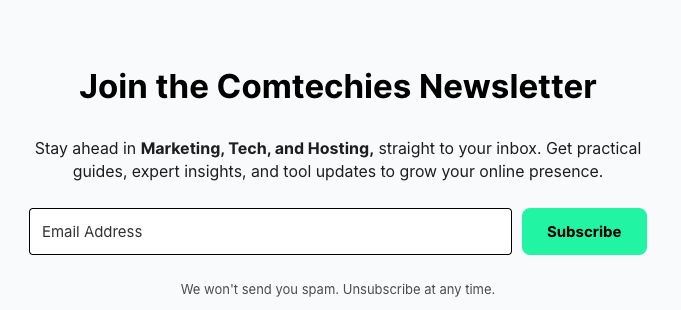
This is just a simple edit, you can customize beyond this depending on the template you choose.

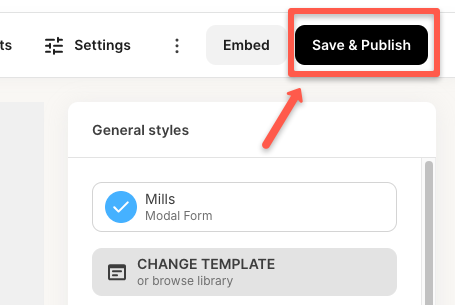
Step 6: Save and Publish
In the top right hand corner, you will see a Save & Publish button, click it to publish your form.
Your sign-up form is created. That's it, your Newsletter sign-up form is created.
The next step is...
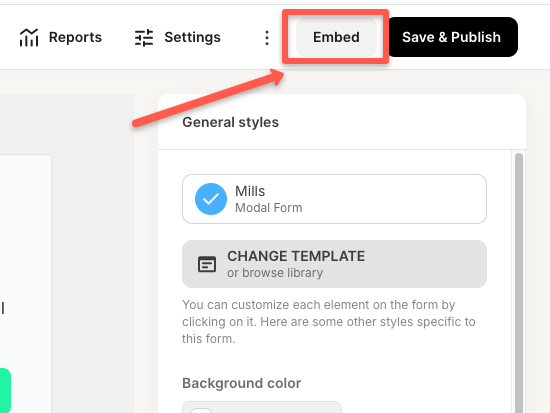
Step 7: Select Code for Embed
Near the Save & Publish button, there will be an Embed button, click it.
You will get four options such as JavaScript, HTML, Share, and WordPress.
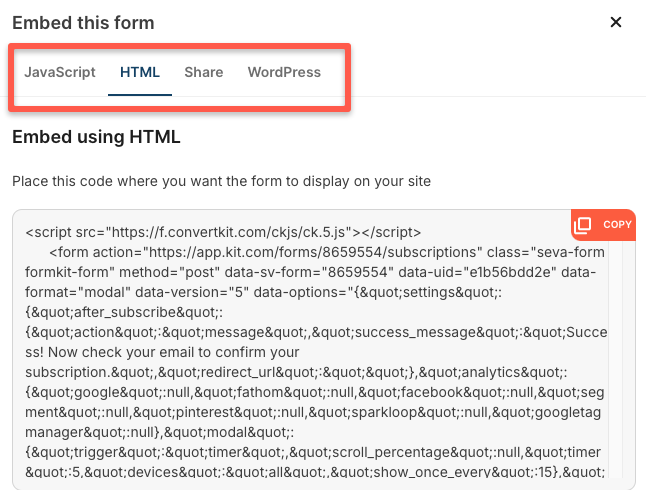
Copy the code and embed it in the page you want to show the newsletter sign-up page to gain subscribers.
Let me show you an example of how it pops up on our blog page, which is shown in the video below.
It is a Modal format form
That's it. This is the process for creating a newsletter sign-up form in Kit (Converkit).
FAQs
The following are questions that may pop up in your mind while planning to create a form in Kit.
1. Can I create a newsletter signup form in Kit using the free account?
Yes, you can create a newsletter signup form in the Kit for your free account. All templates will be available for use with the free version of the kit.
2 Does Kit have a signup tracking feature?
Yes, Kit has an in-built signup tracking dashboard. You can track visitors, subscribers, and conversion rate.
3. Does Kit have free sign up form templates?
Yes, Kit has a free sign up form template for its free and paid accounts.
Conclusion
In this guide, I have shown you how to create a newsletter sign-up form in Kit with examples. I hope the guide is helpful for you.
It is the best email marketing service for those who are planning to build a business through a newsletter.
If you still have any doubts about creating a newsletter form in Kit, please leave a comment, and I will be happy to help.
Also, if you'd like to learn more about Kit, please leave a comment, and I will start writing a guide on it. I will then personally send you the guide.
Note: If you want to learn to create a landing page in Kit, here is a detailed guide on creating a landing page in Kit.
But, during black friday deal, you will get upto 30% off on the Kit.